Connecting NetBox with Ansible for Infrastructure Automation
In this tutorial, we will guide you through the process of connecting NetBox with Ansible for infrastructure automation.

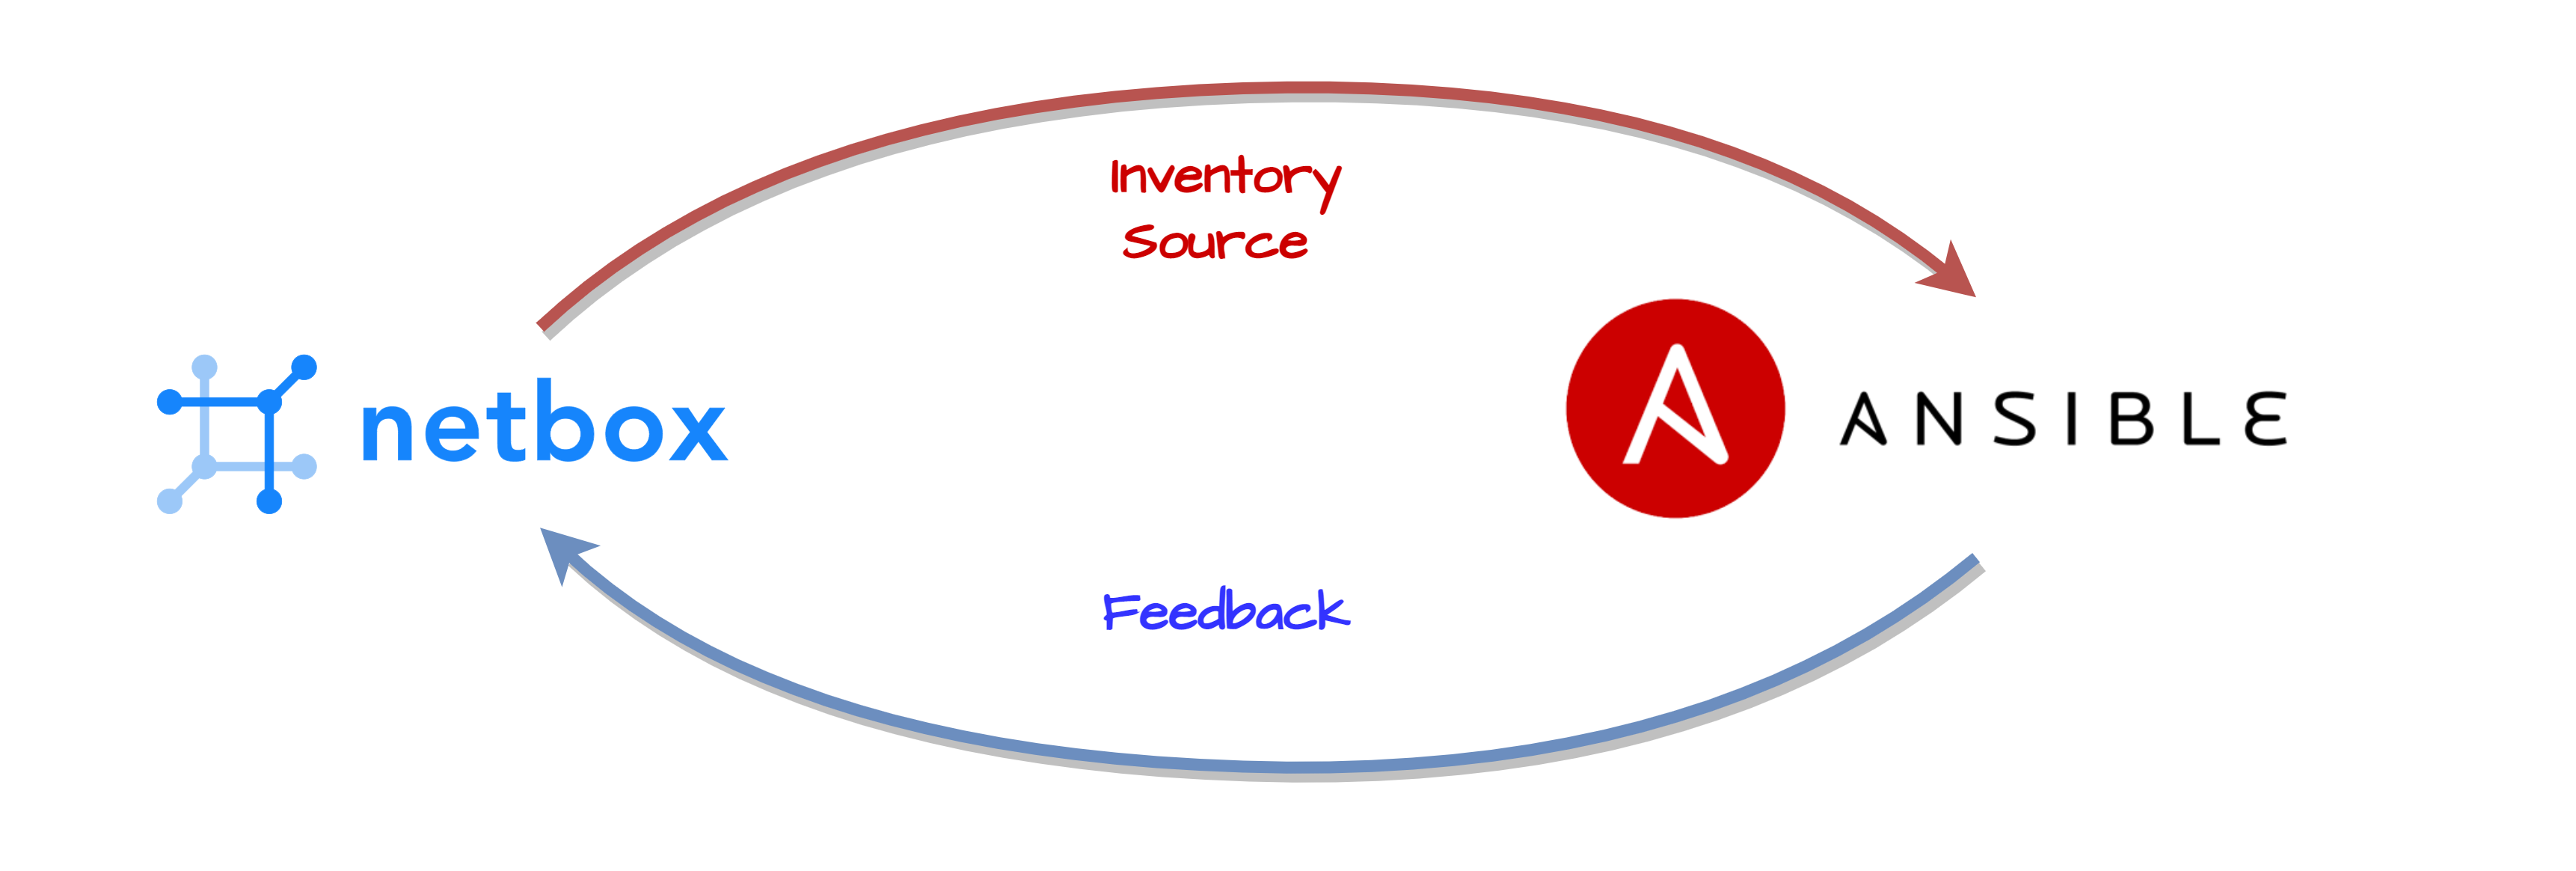
NetBox is an open-source IP address management (IPAM) and data center infrastructure management (DCIM) tool. Integrating NetBox with Ansible, a powerful automation tool, allows you to streamline infrastructure management and automate various tasks.
In this tutorial, we will guide you through the process of connecting NetBox with Ansible for infrastructure automation.
Prerequisites
Before you begin, ensure you have the following prerequisites in place:
- NetBox Installed: NetBox should be installed and running. Refer to the NetBox documentation for installation instructions.
- Ansible Installed: Ansible should be installed on your control machine or a server from which you plan to run Ansible playbooks. You can follow Ansible's installation guide for your specific platform.
- NetBox API Token: Generate an API token in NetBox. You'll need this token to authenticate Ansible with NetBox's API.
- Ansible Roles: Install any Ansible roles required for NetBox interactions. You can use Ansible Galaxy to search for and install relevant roles.

Step 1: Install Required Ansible Roles
You may need specific Ansible roles to interact with NetBox's API. For example, you might use the community.general.nb_netbox role to manage NetBox objects. Install the roles you need using Ansible Galaxy:
ansible-galaxy collection install community.generalStep 2: Create an Ansible Inventory
Create an Ansible inventory file that includes the NetBox server(s) you want to manage. For example:
[netbox]
netbox.example.com ansible_ssh_user=your_ssh_user ansible_ssh_private_key=~/.ssh/id_rsa
Replace netbox.example.com with the address of your NetBox server and your_ssh_user with the appropriate SSH user.
Step 3: Configure NetBox API Authentication
You'll need to configure NetBox API authentication using the API token you generated. You can do this in your Ansible playbook or role, but it's recommended to use Ansible's vault to securely store the token.
Create a vault file (e.g., secrets.yml) containing the NetBox API token:
netbox_api_token: your_netbox_api_token_hereEncrypt the file using Ansible Vault:
ansible-vault encrypt secrets.ymlNow, you can reference this vault file in your playbook or role to authenticate with the NetBox API.
Step 4: Create Ansible Playbooks or Roles
You can create Ansible playbooks or roles to automate various tasks in NetBox, such as adding devices, IP addresses, or other objects.
Here's a simplified example of a playbook to add a device to NetBox using the community.general.nb_netbox role:
---
- name: Add a device to NetBox
  hosts: netbox
  gather_facts: no
  tasks:
    - name: Add device to NetBox
      community.general.nb_netbox.device:
        name: "{{ inventory_hostname }}"
        device_type: 1  # Replace with your device type ID
        site: 1         # Replace with your site ID
        platform: 1     # Replace with your platform ID
        api_endpoint: "{{ netbox_api_url }}"
        api_token: "{{ netbox_api_token }}"
      register: device_added

    - name: Debug Device ID
      debug:
        var: device_added.id
Replace the placeholders (e.g., device_type, site, platform) with the appropriate IDs for your NetBox installation.
Step 5: Run Ansible Playbooks
Run your Ansible playbook to execute the tasks defined in the playbook. Use the following command:
ansible-playbook -i inventory.ini playbook.yml --ask-vault-passThe --ask-vault-pass option prompts you for the vault password you used to encrypt the secrets.yml file.
Conclusion
You've successfully connected NetBox with Ansible for infrastructure automation. This integration allows you to automate various tasks related to your network and infrastructure management, making it more efficient and less error-prone.
Continue to explore Ansible and NetBox's capabilities to further enhance your automation workflows and streamline your infrastructure operations.


