Deploying SmokePing for Secure Network Latency Monitoring
SmokePing is a powerful tool for monitoring network latency, and securing it with basic authentication ensures that only authorized users can access the latency data. In this tutorial, we'll guide you through deploying SmokePing and setting up basic authentication for added security.
Introduction
SmokePing is a powerful tool for monitoring network latency, and securing it with basic authentication ensures that only authorized users can access the latency data. In this tutorial, we'll guide you through deploying SmokePing and setting up basic authentication for added security.
Install & configure smokeping
SSH into your Linux server:
ssh your_username@your_server_ipUpdate the package list and install smokeping :
sudo apt update
sudo apt install smokeping
Open the SmokePing configuration file for editing:
sudo nano /etc/smokeping/config.d/TargetsAdd target hosts that you want to monitor. The configuration file typically looks like this:
*** Targets ***
probe = FPing

menu = Top
title = Network Latency Grapher

+ Website
menu = Website
title = Website Latency

++ example_com
host = example.com
title = Example Website
Replace example.com with the target you want to monitor. You can add more targets by copying the ++ example_com section and updating the host and title values.
Save the file and exit the text editor.
For more details about this syntax, please check the official documentation of Smokeping.
Set Up Nginx for SmokePing
Install Nginx:
sudo apt install nginx
Create a new Nginx server block configuration file for SmokePing:
sudo nano /etc/nginx/sites-available/smokeping
Add the following configuration, replacing your_server_domain with your server's domain or IP address:
server {
    listen 80;
    server_name your_server_domain;

    location / {
        proxy_pass http://127.0.0.1:80/;
        proxy_set_header Host $host;
        proxy_set_header X-Real-IP $remote_addr;
    }
}
Save the file and exit the text editor.
Enable the Nginx configuration:
sudo ln -s /etc/nginx/sites-available/smokeping /etc/nginx/sites-enabled/
Test the Nginx configuration to ensure there are no syntax errors:
sudo nginx -tIf there are no errors, restart Nginx:
sudo systemctl restart nginxCreate a Password File for Basic Authentication
Create a password file for Nginx basic authentication. Replace your_username with your desired username:
sudo htpasswd -c /etc/nginx/smokeping_users your_usernameYou will be prompted to enter and confirm your password.
Open the Nginx server block configuration file for SmokePing:
sudo nano /etc/nginx/sites-available/smokeping
Add the following lines inside the location / block to enable basic authentication:
auth_basic "SmokePing Authentication";
auth_basic_user_file /etc/nginx/smokeping_users;
It should look like this:
location / {
    proxy_pass http://127.0.0.1:80/;
    proxy_set_header Host $host;
    proxy_set_header X-Real-IP $remote_addr;

    auth_basic "SmokePing Authentication";
    auth_basic_user_file /etc/nginx/smokeping_users;
}
Save the file and exit the text editor.
Reload Nginx to apply the configuration changes:
sudo systemctl reload nginxAccess SmokePing web interface
Open a web browser and navigate to your server's domain or IP address (http://your_server_domain).
You will be prompted to enter the username and password you set up previously.
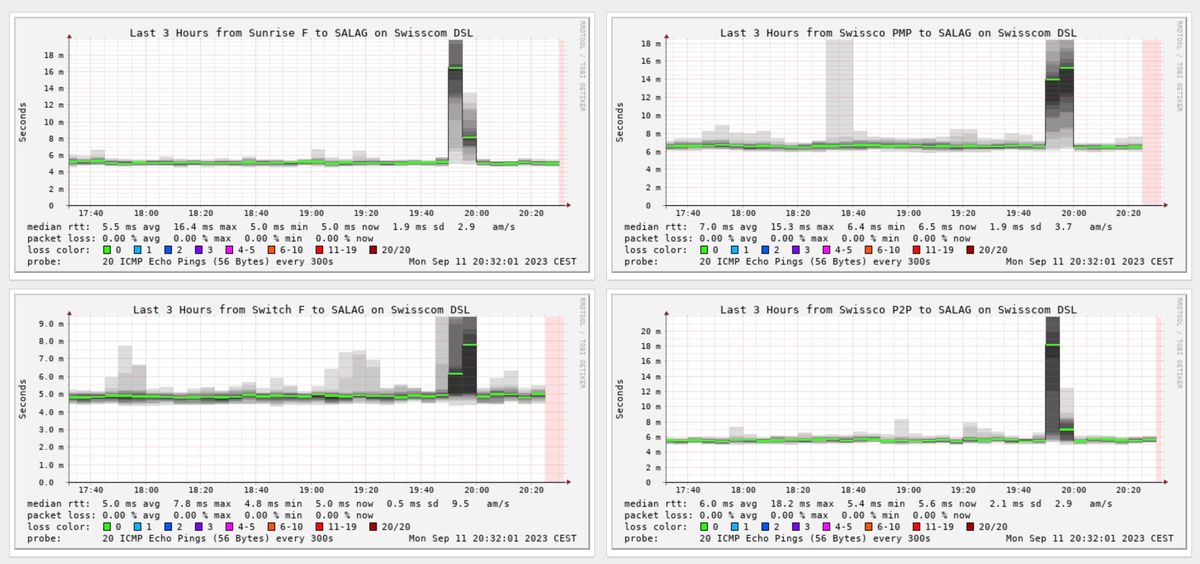
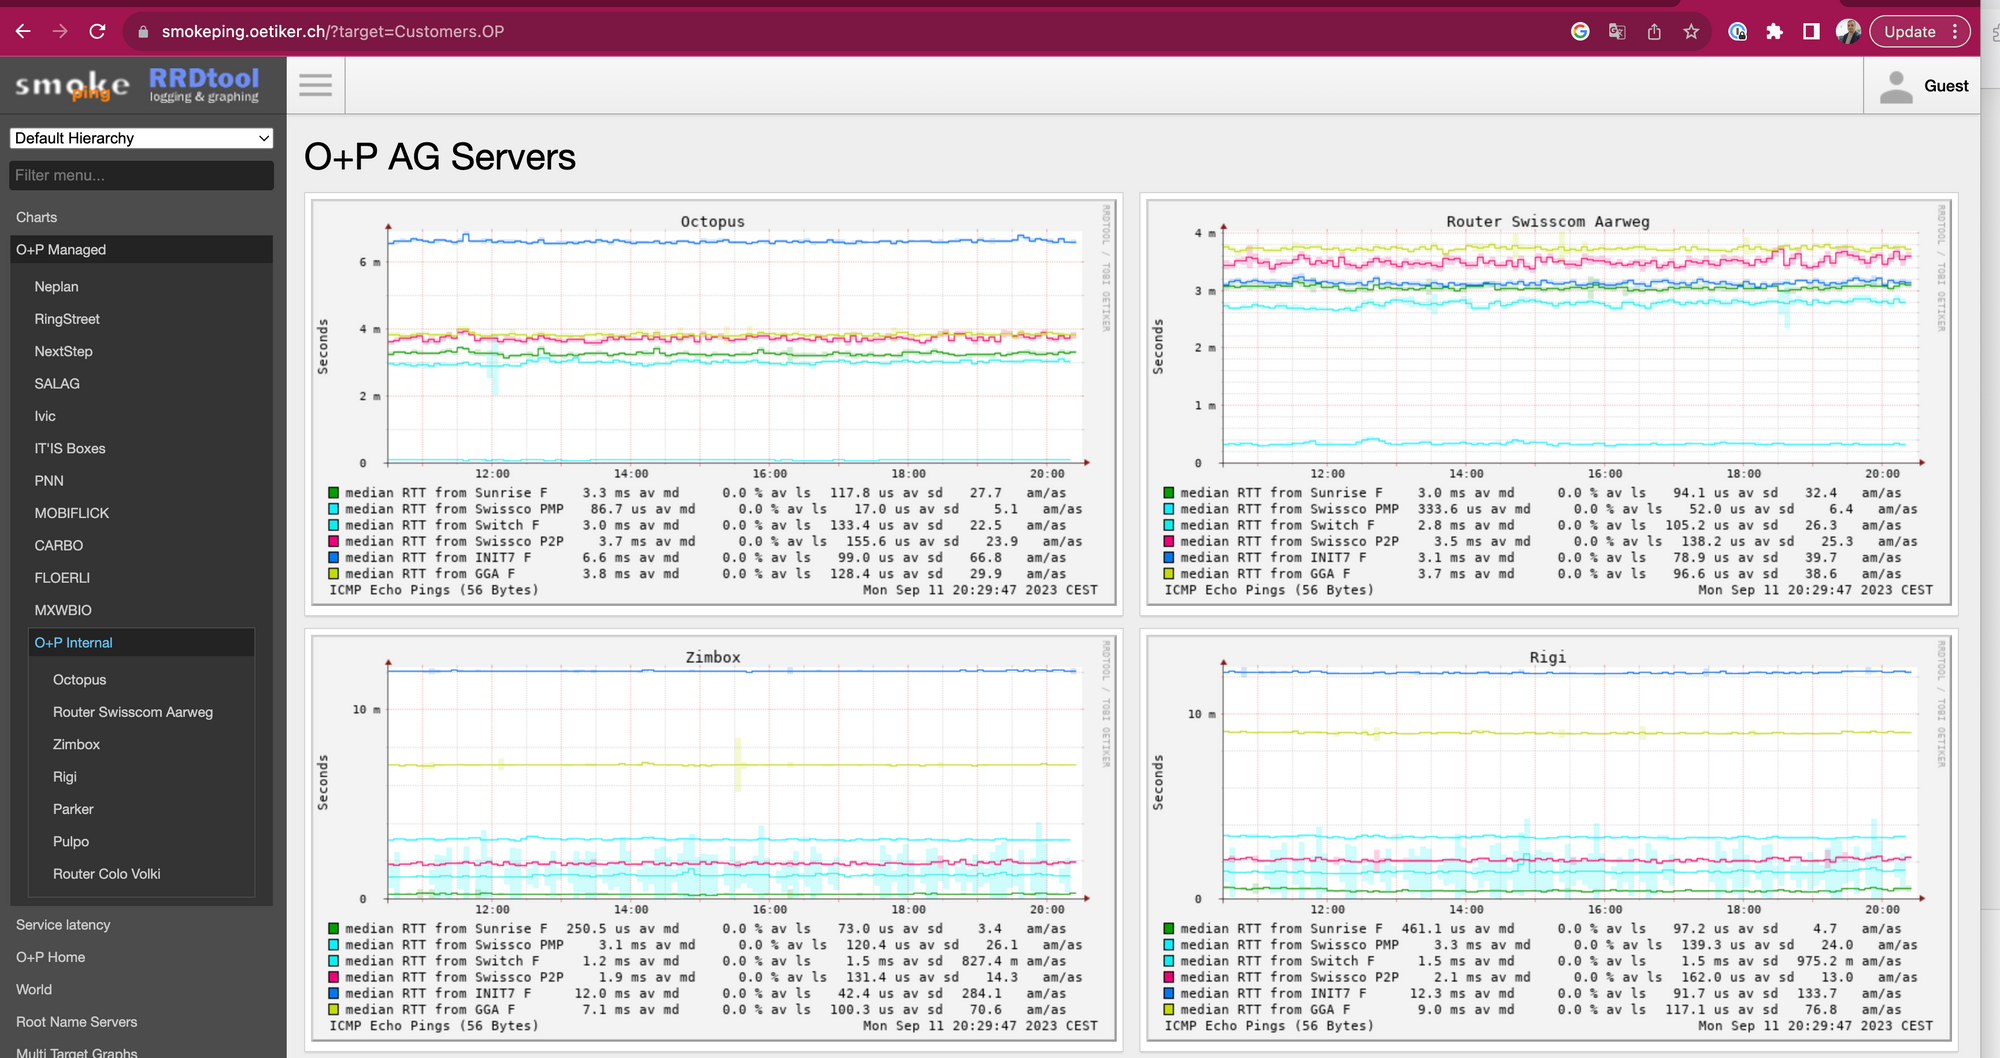
Once authenticated, you can access the SmokePing web interface and view latency graphs securely through Nginx.
Congratulations! You've successfully deployed SmokePing with basic authentication using Nginx, ensuring the security of your network latency monitoring data. Keep your username and password secure, and consider using strong, unique credentials for added security.